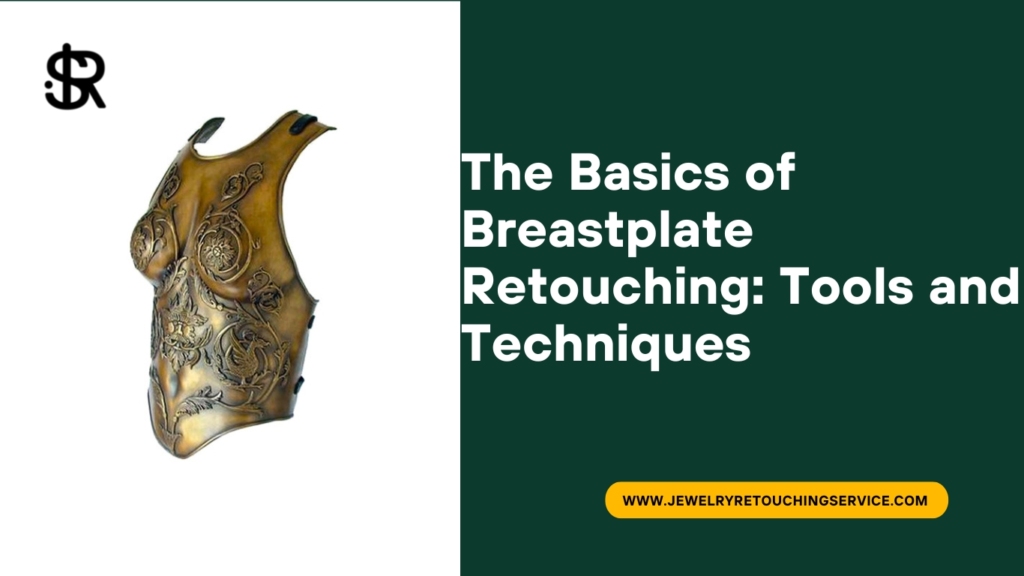
Breastplate retouching refers to the process of restoring and enhancing the appearance of a breastplate or armor. Over time, breastplates may become faded, scratched, or chipped, which can diminish their aesthetic appeal and value. Breastplate retouching can help to restore the original color and finish of the breastplate, as well as fill in any areas where the metal has become damaged. This process is important for preserving the historical and cultural significance of these artifacts, as well as for maintaining their visual appeal for collectors and enthusiasts.

The Basics of Breastplate Retouching: Tools and Techniques
Breastplate retouching requires a set of specialized tools and techniques. Some of the most commonly used tools include sandpaper, metal polish, paint brushes, and airbrushes. The retouching process typically involves several steps, including cleaning and preparing the breastplate, filling in any damaged areas with putty, sanding down the surface, and applying a coat of paint or polish. The specific tools and techniques used will depend on the condition of the breastplate and the desired outcome of the retouching project.
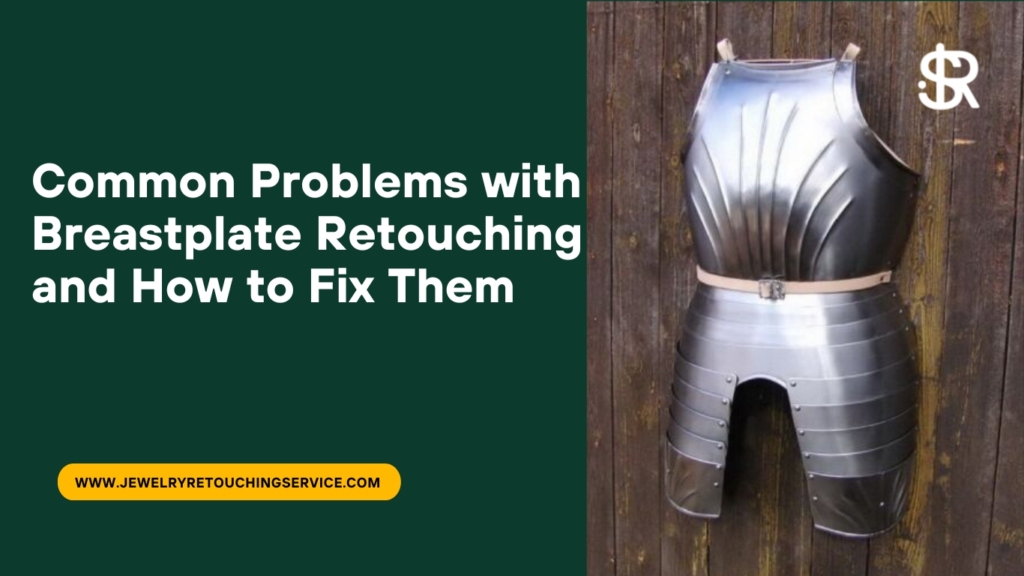
Common Problems with Breastplate Retouching and How to Fix Them
Breastplate retouching can be a challenging process, and there are several common problems that can arise during the process. Some of these problems include uneven color or texture, visible brush strokes, and difficulty blending in the retouching with the original surface. To avoid these issues, it’s important to choose the right tools and techniques, work slowly and carefully, and practice good blending and shading techniques. In some cases, it may be necessary to hire a professional to complete the retouching process.
Preparing the Breastplate for Retouching: Cleaning and Sanding
Before beginning the retouching process, it’s important to thoroughly clean and sand the breastplate. This involves removing any dirt, rust, or other debris from the surface using a combination of soap, water, and specialized cleaning products. Once the breastplate is clean, it should be sanded down using a fine-grit sandpaper to create a smooth surface for the retouching process. This step is critical for ensuring that the retouching adheres properly and creates a seamless finish.
Choosing the Right Paint for Your Breastplate Retouching Project
Choosing the right paint for your breastplate retouching project is essential for achieving a professional-looking finish. There are several factors to consider when selecting paint, including the color and finish of the original breastplate, the type of metal used, and the desired level of durability. Some popular options include acrylic paints, enamel paints, and metal coatings. It’s also important to choose a high-quality paintbrush or airbrush for applying the paint, as this will help to ensure a smooth and even finish.
Tips for Achieving a Smooth, Professional Finish on Your Breastplate
Achieving a smooth, professional finish on your breastplate requires a combination of skill, patience, and attention to detail. Some key tips for achieving a flawless finish include sanding the surface carefully, applying multiple thin coats of paint or polish, blending in the retouching with the original surface, and using high-quality tools and materials. It’s also important to work in a well-ventilated area and to allow sufficient drying time between coats.
Step-by-Step Guide to Breastplate Retouching: From Start to Finish
A step-by-step guide to breastplate retouching can help to demystify the process and provide a clear roadmap for achieving a successful outcome. This guide should cover each stage of the retouching process in detail, including preparing.
Cleaning and preparing the breastplate: Remove any dirt, rust, or other debris from the surface using soap, water, and specialized cleaning products. Sand the surface using fine-grit sandpaper to create a smooth surface for the retouching process.Filling in any damaged areas: Use putty or filler to fill in any areas of the breastplate that have become damaged.Sanding down the surface: Sand down the surface again using fine-grit sandpaper to ensure a smooth finish.
Applying primer: Apply a coat of primer to the surface of the breastplate to help the paint adhere better.Applying paint: Apply thin coats of paint using a paintbrush or airbrush, allowing each coat to dry before applying the next.Blending in the retouching: Blend in the retouching with the original surface of the breastplate using shading and blending techniques.
Applying a final coat of paint or polish: Apply a final coat of paint or polish to create a smooth and even finish. Buffing and polishing: Use a soft cloth or polishing wheel to buff and polish the breastplate, creating a shiny, reflective surface. Inspecting the finished product: Inspect the finished breastplate to ensure that the retouching is seamless and that the surface is smooth and even.
Best Practices for Storing and Maintaining Your Breastplate After Retouching
After completing a breastplate retouching project, it’s important to take steps to protect and maintain the restored surface. Here are some best practices for storing and maintaining your breastplate after retouching:
Store the breastplate in a cool, dry place: Moisture and heat can cause the surface of the breastplate to deteriorate over time, so it’s important to store it in a cool, dry place, away from direct sunlight.Handle the breastplate with care: Avoid touching the surface of the breastplate with your bare hands, as the natural oils on your skin can cause damage over time. Instead, wear gloves or handle the breastplate with a soft cloth.
Clean the breastplate regularly: Use a soft cloth to dust the surface of the breastplate regularly. Avoid using abrasive cleaners or harsh chemicals, as these can damage the surface.Apply a protective coating: Apply a protective coating, such as wax or oil, to the surface of the breastplate to help protect it from rust and other types of damage.
Inspect the breastplate regularly: Inspect the surface of the breastplate regularly to check for any signs of damage or deterioration. Address any issues promptly to prevent further damage.By following these best practices, you can help to preserve the restored surface of your breastplate for many years to come.
Examples of Breastplate Retouching: Before-and-After Photos and Case Studies
Examples of breastplate retouching can provide inspiration and insight into the process of restoring and improving the appearance of metal breastplates. Here are some examples of before-and-after photos and case studies:
Before-and-after photos of a damaged breastplate: A breastplate that has been damaged due to rust or other types of wear and tear can be restored using retouching techniques. A before-and-after photo can show the dramatic improvement in the appearance of the breastplate, with the restored surface looking smooth and shiny.
Case study of a historical breastplate restoration: Restoring a historical breastplate requires a delicate touch and specialized knowledge. A case study can describe the process of restoring a valuable or historical breastplate, including the materials and techniques used to achieve the desired result.
Before-and-after photos of a personalized breastplate: A breastplate that has been personalized with a unique design or engraving can be retouched to create a more polished and professional appearance. Before-and-after photos can showcase the transformation of a plain or worn breastplate into a personalized work of art.
Case study of a rusted breastplate: Rust can cause serious damage to a breastplate, but retouching techniques can help to restore its appearance. A case study can describe the steps taken to remove the rust and restore the surface of the breastplate to its original condition.
By examining before-and-after photos and case studies, you can gain a better understanding of the potential benefits of breastplate retouching and the techniques used to achieve these results.